
Что удобнее приложение или мобильная версия БК Олимп?

Как и любой другой прогрессивный букмекер, компания Олимп понимает, что для нас с вами – ее клиентов, крайне важна возможность вести работу с мобильного устройства, будь то смартфон или планшет.
И, стремясь предоставить пользователям максимальный сервис, компания разработала удобное приложение для операционной системы Android. Теперь вы буквально можете скачать БК Олимп на свой телефон, чтобы делать ставки и зарабатывать в любом месте и в любое время.

Скачать приложение Олимп можно на официальном сайте букмекера. Нажмите на баннер в правом нижнем углу сайта, чтобы начать скачивание.
Важно! Скачать приложение БК Олимп можно только на сайте букмекера! В Play Маркет его нет.
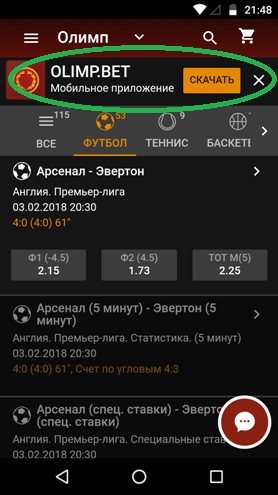
Если же вы зашли на сайт со смартфона, букмекер сам предложит вам установить приложение, баннер с ним будет расположен в верхней части экрана, сразу над линией.
Приложение БК Олимп позволяет вести полноценную работу с букмекером, делая ставки, создавая экспрессы, пополняя счет и выводя прибыль.

К сожалению, на данный момент у Олимп нет приложения для iOS. Трудно сказать, с чем это связано, но, думается, что ситуация это временная и букмекер должен восполнить данный пробел. Следите за обновлениями нашего сайта, и как только это произойдет, вы узнаете об этом первыми.
Пока же, обладатели iPhone и iPad могут воспользоваться удобной мобильной версией сайта БК Олимп, которая, по сути, ничем не уступает приложению.

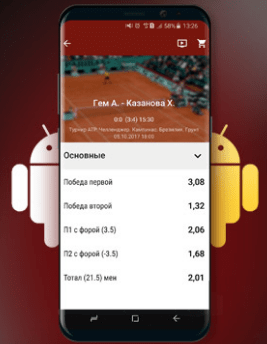
Пользователям доступны две цветовые темы – темная и светлая.

Да, в обзоре Олимп наши специалисты сравнили приложение для Андроид и мобильную версию сайта, можете ознакомиться с результатами и определиться, как вам удобнее будет вести работу. В целом, сайт хорошо сверстан, интерфейс мобильной версии продуман, а потому, если не хотите забивать память телефона, работайте через нее, особой разницы не заметите.
Сотрудники БК привлекают новых игроков интересными предложениями. Многие акции доступны как для новичков, так и для опытных беттеров. Новым пользователям букмекерская контора дарит бонус 500 рублей при регистрации. Спешите воспользоваться специальным предложением для новичков от букмекерской конторы олимп. Получить промокод при регистрации бк Олимп 2019 довольно легко, ведь они находятся в открытом доступе и постоянно обновляются. Для экономии времени игроков мы собрали актуальную информацию о процедуре получения бонусных средств, а воспользоваться ими игрок сможет после выполнений нескольких простых действий. Разберем информацию об условиях и возможностях использования депозитных средств то БК.
Читайте другие статьи, похожие на промокод бк олимп на бесплатную ставку 2019 ищут:
- лайв ставки олимп
- кз олимп в таганроге расположение мест на концерте
- бк олимп в красноярске
- олимп букмекерская контора хабиб
- олимп бк сайт
- франшиза букмекерской конторы олимп
- olimp букмекерская контора скачать приложение
Ниже представлена ссылка на промокод бк Олимп. Как правильно активировать промокод для Олимп и получить бонус? Букмекерская контора позволит воспользоваться подарочными средствами только после процесса регистрации.